Product Introduction #
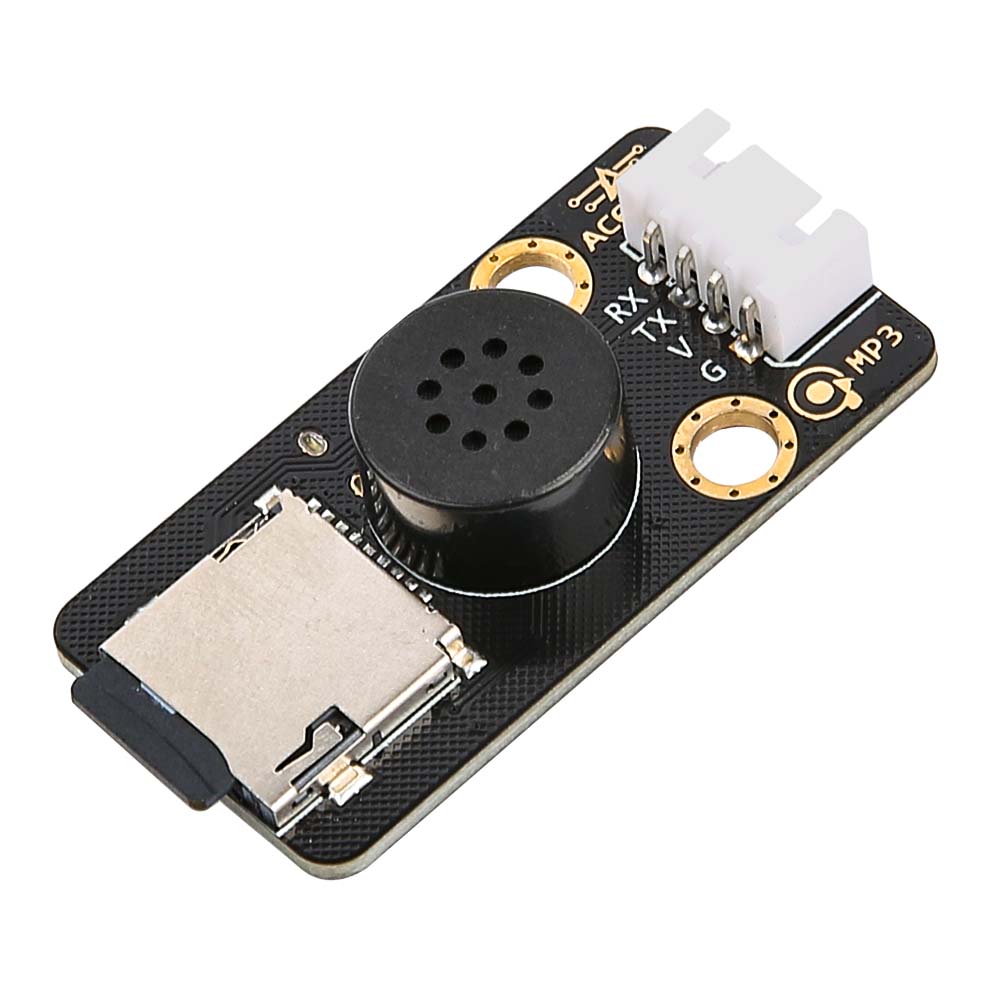
An MP3 player is a digital audio device specifically designed to play music in MP3 format. It consists of a microprocessor, memory, and an audio decoder. The microprocessor controls the device’s operations, memory stores the audio files, and the audio decoder converts the audio files into audible audio signals. The MP3 module can be controlled via serial communication to play music.
Application reference: Mechanical electronics, security and home anti-theft, communication equipment, home appliances, medical equipment, etc.
Parameter Specification #
| Parameters | Value/Description |
| Operating voltage | 5V |
| Operating temperature | -40°C~+70°C |
| Interface | USB-C and Serial Port |
| Supported audio formats | Support MP3, WAV high-quality audio format files |
| Maximum supported TF card capacity | Maximum support 32G TF card |
| Size | 47.2mm * 23.8mm |

Store Music #
Before controlling the MP3 module to play music, you need to store songs on the memory card of the MP3 module. The following are the steps to store songs on the MP3 module:
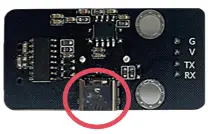
(1)Insert the memory card into the card slot of the MP3 module.

(2)There is a USB port on the back of the MP3 player module. Use a Type-C data cable to connect the USB port of the MP3 module to the computer.
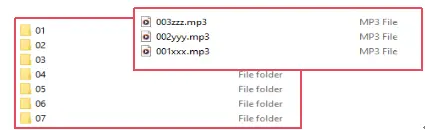
(3)After connecting the MP3 module to the computer, a new folder will pop up on the computer system disk. Place your MP3 file in the newly popped up folder. If your MP3 file is placed in the root directory of the memory card, the name of the MP3 file must start with a four-digit number, such as “0001Hero.mp3”, “0002Jingle bells.mp3”.

If you want to create a new folder in the root directory of the memory card, the folder name should start with a two-digit number, and the MP3 files in the folder name should start with a three-digit number.
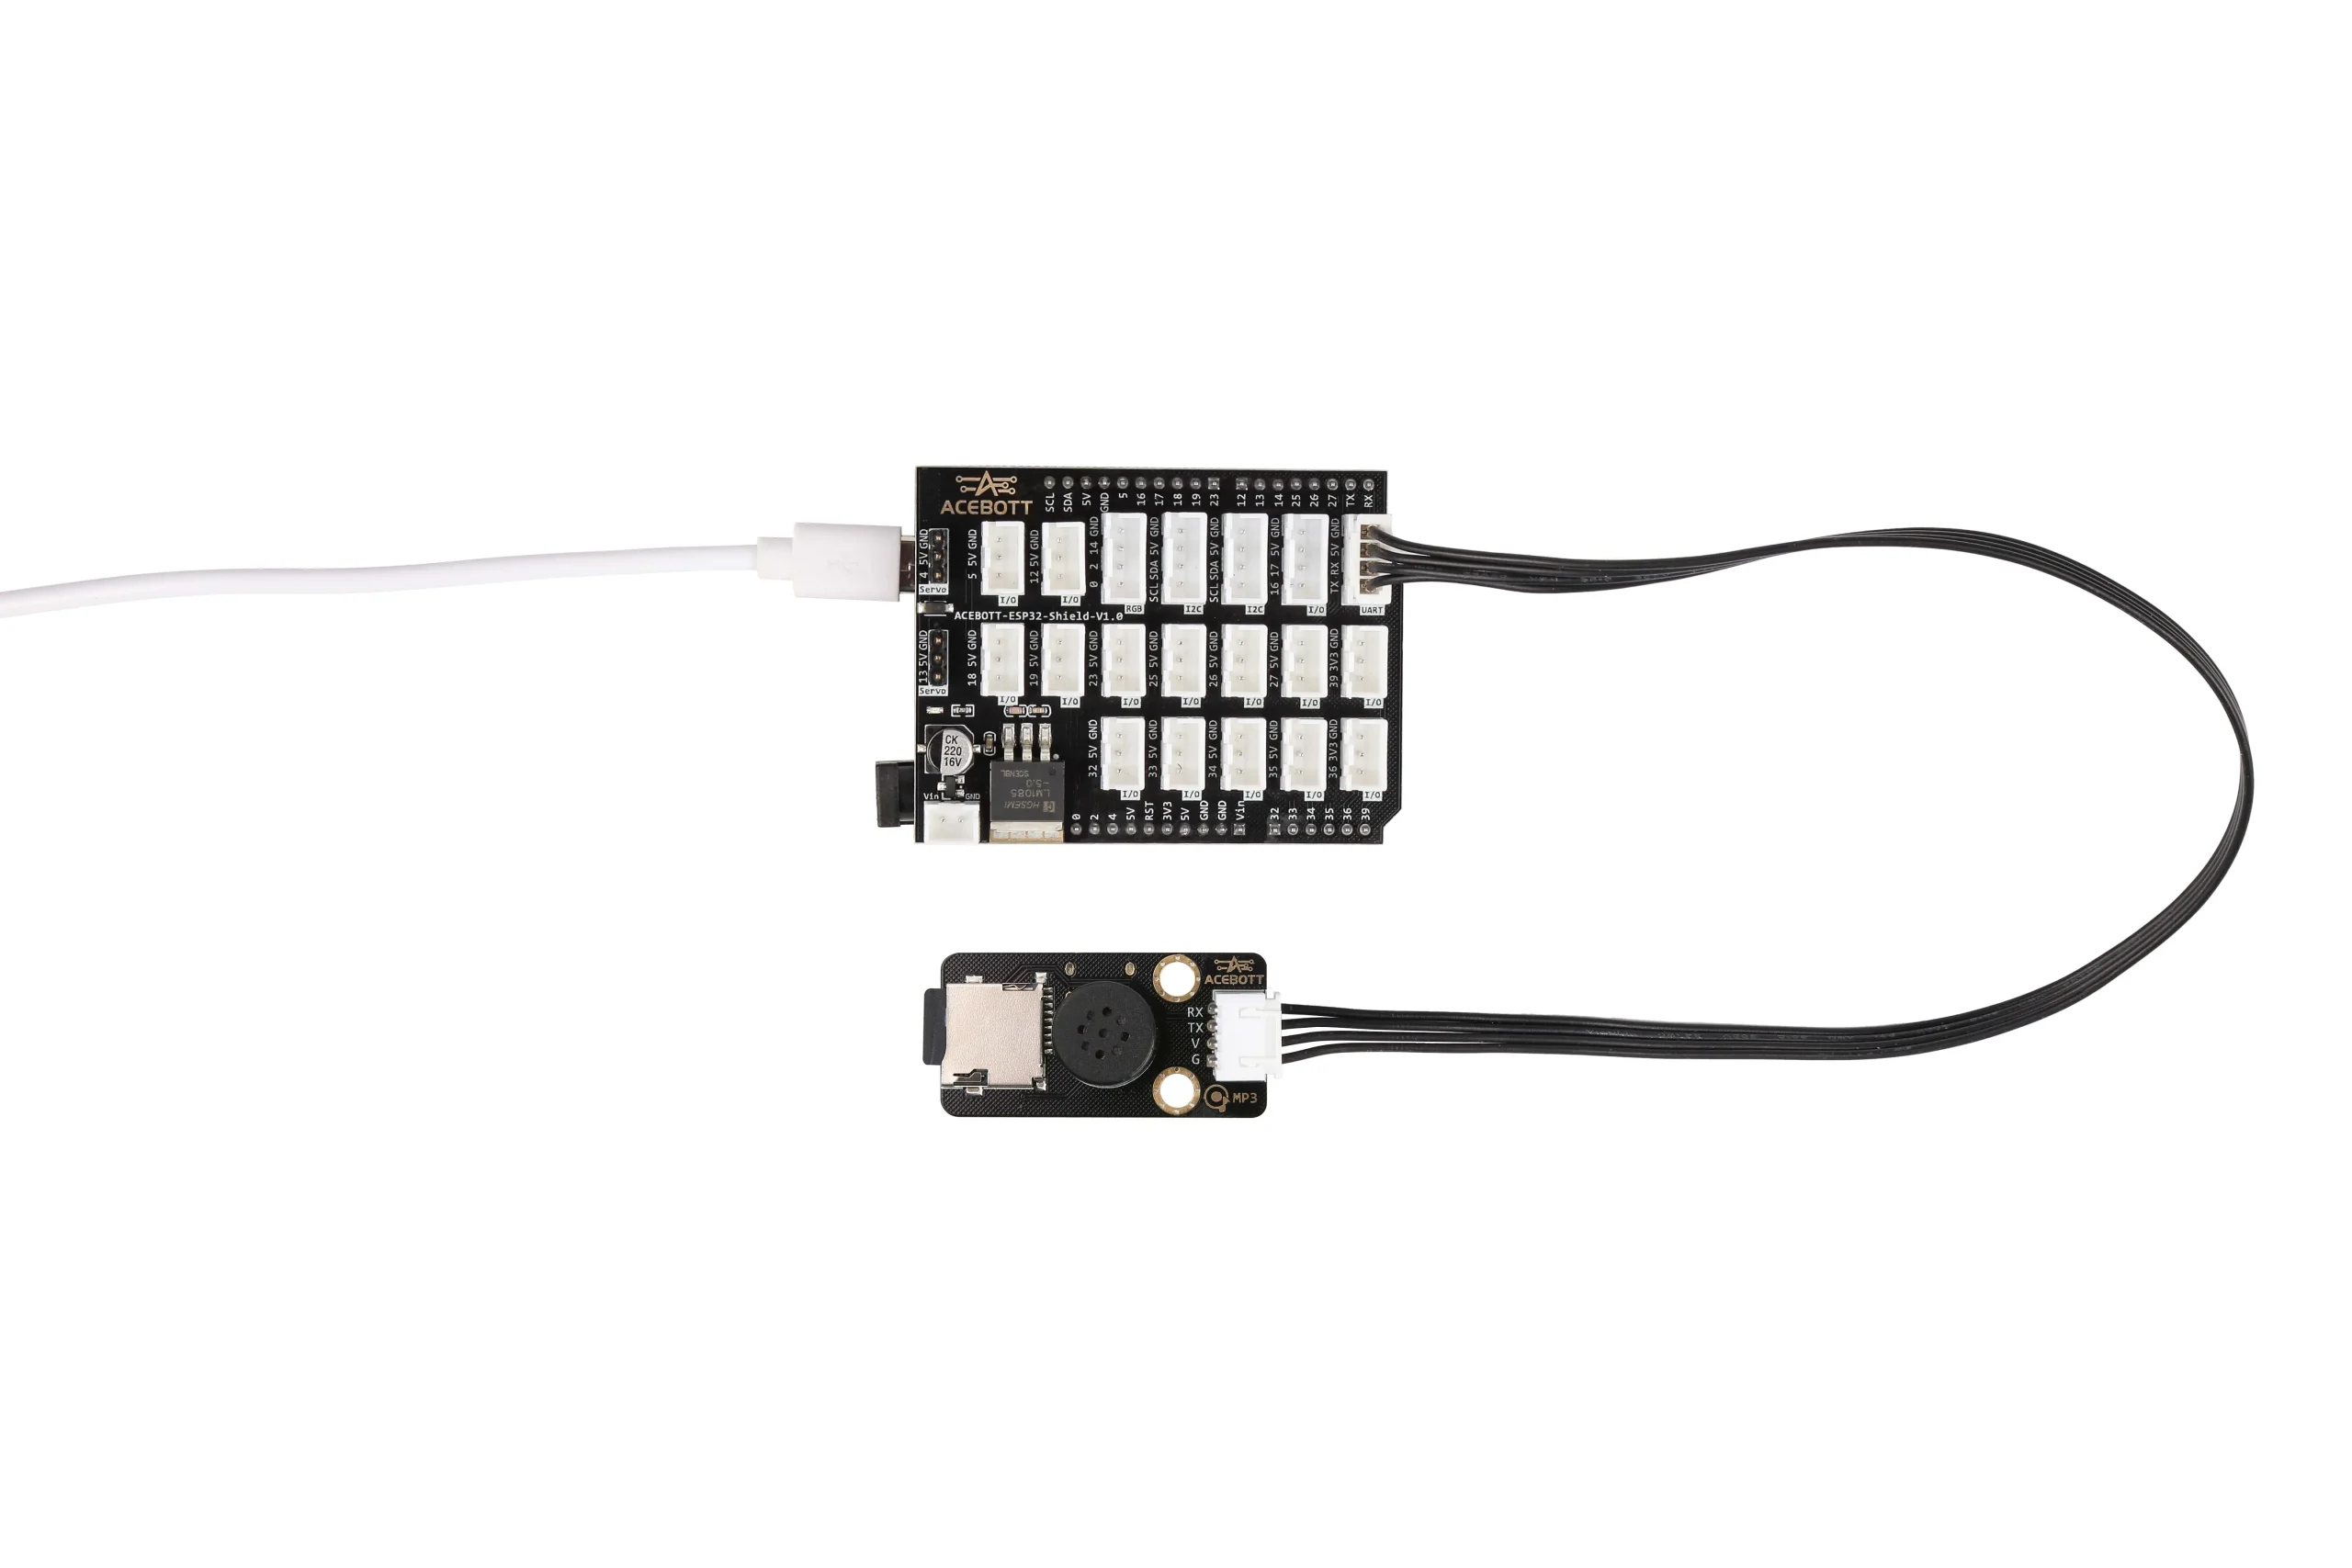
Wiring Diagram #
Note: Expansion board is attached to esp32 controller board.

| MP3 Module | ESP32 |
| V | 5V |
| G | GND |
| TX | RX |
| RX | TX |
Attention: The RX and TX interfaces in the control board are used for program downloading and debugging. If you use this interface to communicate with an external device, you need to disconnect the external device on the interface before uploading or debugging the program, and then connect the device after the program is successfully uploaded.
Sample Code #
#include
my1690 MP3;//Generate an MP3 object

void setup() {
Serial.begin(9600);//Set the baud rate to 9600
delay(100);
MP3.setLoopMode();//Set loop mode
delay(100);

}

void loop() {
MP3.play();//Play Song
}
Note: If you are using an Arduino board, then connect the RX pin of the MP3 module to the PIN 1 of the Arduino and the TX pin to the PIN 0 of the Arduino, and upload the program.
Test Result #
When you have successfully connected the circuits according to the wiring diagram and successfully uploaded the correct program, your MP3 module will play music.
Related Resources #
Get Quotation or Buy From #
B2B Business: info@acebott.com


